

Start your upgrade project with five actions before the next board meeting: run a short resident survey (a short series of questions), complete a photo inventory of every outdoor amenity, score each proposal using the DUR (Demand, Upkeep, Return) framework, confirm your reserve balance against the estimated project range, and open a vendor shortlist. That sequence, done in order, is what separates projects that get approved and built from ones that stall in committee for two years.
Five actions to bring to your next meeting:
- Send a digital resident survey with a two-week deadline
- Walk every outdoor space and photograph current conditions with timestamps
- Score each upgrade idea on Demand, Upkeep, and Return (1–5 per axis)
- Pull your reserve fund balance and identify the funding path (reserves, special assessment, or HOA loan)
- Draft a vendor shortlist and set an RFP deadline
Success looks like this: a funded, phased project with resident buy-in, a signed contract with a warranted vendor, and a maintenance plan that keeps the new amenity in good shape for multiple years.
Table of Contents
- What does a complete HOA outdoor amenity upgrade checklist look like?
- How to prioritize proposals using the DUR scoring method
- How should you budget and fund an outdoor amenity upgrade?
- Which materials reduce upkeep and extend the life of outdoor amenities?
- What permits and compliance checks should you run before spending money?
- How do you select vendors and write an RFP that protects the board?
- How should you phase the project to minimize resident disruption?
- How do you build a maintenance plan and estimate lifecycle costs?
- How do you communicate the upgrade plan to residents and build support?
- When does Rubberway® rubber paving make sense for your community?
- Key Takeaways
- What boards consistently get wrong, and what actually works fast
- Ecotecrubber handles the surfacing so your board can focus on the rest
- Useful sources and templates for your board
What does a complete HOA outdoor amenity upgrade checklist look like?
A well-run upgrade moves through eight distinct phases. Each phase has a decision gate: if the gate condition is not met, the project does not advance until it is.
Phase 1: Assessment
- Assign a board member or manager to lead the project.
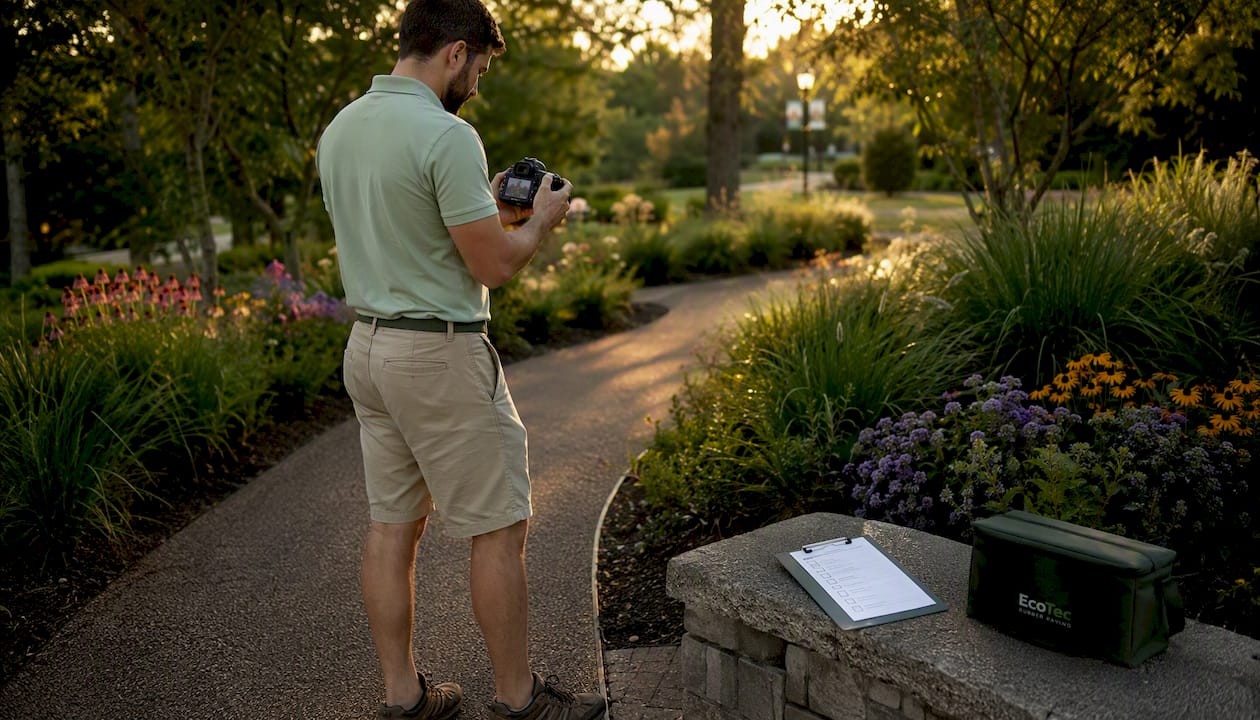
- Walk every outdoor space. Photograph each amenity from multiple angles and timestamp every image.
- Note surface condition, drainage issues, ADA barriers, safety hazards, and deferred maintenance.
- Create a written inventory spreadsheet: amenity name, location, age, condition rating (1–5), and estimated replacement cost.
- Pull any existing warranties, inspection records, and prior contractor invoices.
Decision gate: inventory complete and condition ratings assigned before proceeding.
Phase 2: Resident feedback
- Send a digital survey (Google Forms or SurveyMonkey work fine) to all homeowners. Ask which amenities they use, which they want improved, and what they would not fund.
- Hold one optional community workshop or town hall to discuss results.
- Compile survey data into a ranked list of resident priorities.
Decision gate: an adequate resident response rate before finalizing priorities.
Phase 3: Prioritization and design
- Apply the DUR score to each proposal (see the next section).
- Select the top two or three projects based on composite scores.
- Engage a licensed landscape architect or engineer for any project requiring structural work, grading, or drainage changes.
- Confirm material and design choices meet local codes and ADA requirements.
Phase 4: Budget approval
- Prepare a line-item budget separating equipment cost from site prep, installation, permits, and contingency (typically a contingency percentage of the total).
- Identify the funding path and present it to homeowners with a written summary.
- Hold a formal board vote and document the resolution.
Decision gate: reserve balance confirmed and funding path approved before issuing RFP.
Phase 5: Procurement
- Issue a written RFP to at least three qualified vendors.
- Collect bids, verify licenses, insurance certificates, and references.
- Select vendor and execute a written contract with scope, timeline, warranty, and change-order terms.
Phase 6: Installation
- Post advance notice to residents at least two weeks before work begins.
- Confirm permits are pulled and posted on-site.
- Designate a board or manager contact for daily vendor communication.
- Document progress with weekly site photos.
Phase 7: Inspection and punch list
- Walk the site with the vendor at substantial completion.
- Create a written punch list of any deficiencies.
- Withhold final payment until punch list items are resolved.
Phase 8: Sign-off and handoff
- Obtain lien releases from the general contractor and all subcontractors.
- File all warranties, as-built drawings, and inspection records in a permanent project folder.
- Schedule the first post-installation walk-through for 30 days after completion.
Photo inventory best practices: photograph each amenity from four angles, include a date stamp, and store images in a shared cloud folder (Google Drive or Dropbox) organized by amenity and date. This record supports insurance claims, warranty disputes, and future budget presentations.
How to prioritize proposals using the DUR scoring method
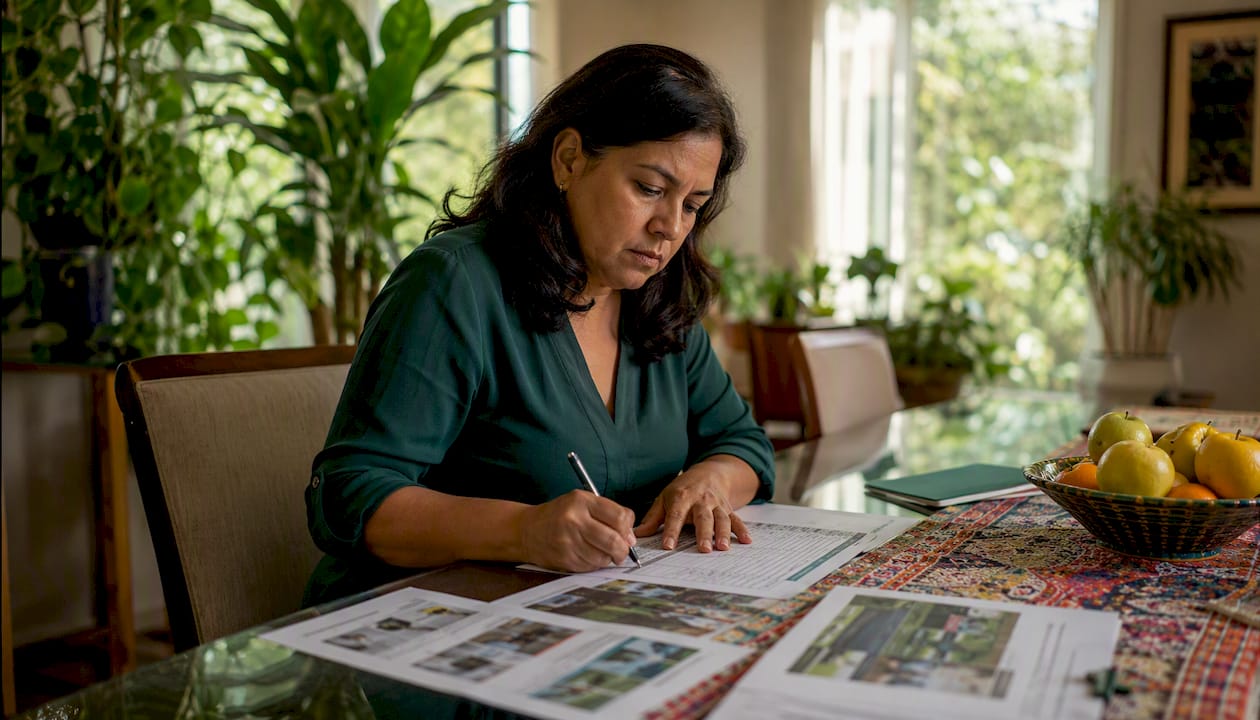
The DUR framework scores every upgrade proposal on three axes before any funds are committed: Demand (how many residents want it and how often they would use it), Upkeep (how much ongoing labor, cost, and risk the amenity carries), and Return (the expected gain in property value, safety, or community satisfaction). Boards that skip this step tend to approve the loudest proposal, not the best one.
Scoring table template
| Criterion | What to measure | Score 1–5 | Weight |
|---|---|---|---|
| Demand | % of survey respondents who ranked it top-3 | 1 = <10%, 5 = >60% | — |
| Upkeep | Annual maintenance cost + staff hours | 1 = high burden, 5 = minimal | 30% |
| Return | Projected impact on property value or usage rate | 1 = negligible, 5 = significant | 30% |
Composite score = (Demand × 0.4) + (Upkeep × 0.3) + (Return × 0.3)
Worked example: shade structure vs. water feature
A board is choosing between a shade structure over the pool deck and a decorative water feature at the entrance.
| Proposal | Demand | Upkeep | Return | Composite |
|---|---|---|---|---|
| Shade structure | 5 | 4 (minimal maintenance) | 4 (extends pool hours, adds safety) | 4.4 |
| Water feature | 3 | 2 (chemical, pump, winterizing costs) | 3 (aesthetic only) | 2.7 |
The shade structure scores 4.4 against the water feature's 2.7. The decision writes itself.
Recommendation thresholds:
- 4.0–5.0: Approve and fund in the current budget cycle.
- 3.0–3.9: Pilot or phase; revisit after one season of data.
- Below 3.0: Defer or reject; document the reason for the record.
Pro Tip: Score every proposal before the board meeting, not during it. Presenting pre-calculated DUR scores shifts the conversation from opinion to evidence and cuts meeting time significantly.
Multi-use upgrades tend to score well across all three axes. A walking trail enhanced with benches, water fountains, and fitness nodes, for example, serves a broader resident base from a single investment, which pushes both Demand and Return scores higher without multiplying maintenance burden.
How should you budget and fund an outdoor amenity upgrade?
Equipment typically accounts for a significant portion of total outdoor project cost, which means a vendor quote for equipment alone can look deceptively affordable. Site prep, surfacing, permits, and installation make up the rest. Budget for all of it from the start.
Common funding options
- Operating reserves: Best for planned replacements within the reserve study's scope. Confirm the withdrawal does not drop reserves below your state's minimum threshold or your governing documents' requirement.
- Special assessment: Appropriate for upgrades outside the reserve study or for amounts that would deplete reserves. Requires proper notice and, in many states, a homeowner vote.
- HOA loan: Available through community association lenders (CAI-affiliated lenders are a good starting point). Useful when reserves are healthy but the project is too large for a single-year withdrawal.
- Grants: Federal CDBG grants, state recreation grants, and local park improvement funds occasionally apply to HOA common areas, particularly in lower-income or mixed-use communities. Eligibility varies; check with your county's community development office.
Sample budget template
| Line item | % of total budget |
|---|---|
| Equipment and materials | a significant portion |
| Site preparation and grading | 10–20% |
| Installation labor | 15–25% |
| Permits and inspections | 2–5% |
| Contingency | 10–15% |
Ballpark cost ranges for common projects
These are directional ranges for planning purposes; actual costs vary by market, site conditions, and material grade.
- Shade structure (sail or pergola, 20×20 ft): several thousand dollars installed
- Pool deck resurfacing (rubber paving, 2,000 sq ft): a mid-range amount
- LED lighting upgrade (6–10 fixtures, common area): a moderate investment
- Playground equipment replacement: a substantial amount
- Walking trail resurfacing (per linear foot): an estimated range per linear foot
Presenting the funding recommendation to homeowners: lead with the DUR score, show the full line-item budget (not just the equipment quote), state the funding path clearly, and include the contingency line. Residents who see a complete picture are far less likely to object than those who feel numbers were hidden from them.
Which materials reduce upkeep and extend the life of outdoor amenities?
The materials you specify at design time determine your maintenance budget for the next 15–20 years. Replacing traditional hardscapes with porous, weather-resistant surfaces and using LED lighting significantly lowers maintenance and energy costs compared to outdated alternatives.
Surfacing options compared
| Surface type | Durability | Drainage | ADA compatible | Maintenance burden |
|---|---|---|---|---|
| Rubberized paving (Rubberway®) | High (crack-resistant) | Excellent (porous) | Yes | Low |
| Porous concrete pavers | High | Good | Yes (if level) | Low–Medium |
| Standard concrete | Medium (cracks in heat) | Poor | Conditional | Medium–High |
| Asphalt | Medium | Poor | Conditional | Medium–High |
| Artificial turf | Medium | Good | Partial | Medium |
Rubberized paving stands out in hot, wet climates because its porous structure handles Florida-level rainfall without pooling, and its flexibility prevents the heat-induced cracking that shortens concrete's lifespan. Prioritizing durable, easy-to-clean finishes like rubber paving solutions keeps common areas looking intentional with fewer staff hours. For stormwater management, permeable surfaces also reduce runoff and can help communities meet local drainage requirements.
Shade, furniture, and lighting
- Shade structures: Powder-coated aluminum frames outlast wood in humid climates. Shade sails require annual tension checks but cost less upfront.
- Outdoor furniture: Powder-coated steel or HDPE (high-density polyethylene) lumber resists UV and moisture. Avoid untreated wood in coastal or high-humidity areas.
- Lighting: LED landscape lighting extends facility hours and reduces energy costs compared to legacy options. Solar-powered LEDs eliminate wiring costs in areas without existing conduit.
Durability checklist before specifying any material
- UV resistance rating confirmed for the climate zone
- Drainage coefficient meets local stormwater requirements
- Freeze/thaw cycle rating (relevant for communities in northern states)
- ADA surface firmness and slip-resistance confirmed
- Manufacturer warranty of at least 5 years for surfacing, 10 years for structural elements
Sustainability note: recycled-content materials (rubber paving made from reclaimed tires, HDPE lumber from recycled plastics) reduce landfill waste and often qualify for green building credits. Permeable designs reduce impervious surface area, which matters for communities near wetlands or in flood zones.
What permits and compliance checks should you run before spending money?
Skipping permits is the fastest way to halt a project mid-construction and trigger fines. Run these checks before you allocate a dollar.
Permit checklist by project type
- Pool deck resurfacing: typically requires a building permit if the surface area or drainage is altered; confirm with your county building department.
- Playground equipment: building permit and, in most jurisdictions, a third-party safety inspection to ASTM F1487 standards.
- Lighting installation: electrical permit required for any new wiring; solar fixtures with no hardwired connection may be exempt.
- Paving and walkways: grading or drainage changes typically trigger a stormwater permit; check with your local water management district.
- Shade structures: building permit required for any permanent structure; sail shades may be exempt if freestanding and under a certain square footage.
Quick ADA checks during site assessment
- Path width: 60 inches minimum for two-way accessible routes, 36 inches for one-way.
- Cross-slope: no more than 2% perpendicular to the direction of travel.
- Surface firmness: test with a rotary penetrometer or firmness/stability rating card.
- Detectable warning surfaces: required at curb cuts and hazardous vehicle crossings.
- Accessible parking: confirm count and dimensions meet ADA Standards for Accessible Design.
Rubber paving meets ADA surface firmness and stability requirements when properly installed, which simplifies compliance documentation for boards.
Pro Tip: Pull your county's permit fee schedule before finalizing the budget. Permit costs vary widely, and a $3,000 permit fee on a $20,000 project is not unusual in Florida.
When to bring in a licensed professional
Hire a licensed architect or civil engineer when the project involves structural elements, significant grading, drainage system changes, or any work near a wetland or floodplain. For electrical work, a licensed electrician is non-negotiable. Insurance and bonding: confirm every vendor carries general liability (minimum $1 million per occurrence) and workers' compensation before signing anything.
How do you select vendors and write an RFP that protects the board?
A weak RFP produces incomparable bids and sets up disputes later. A strong one defines scope tightly enough that every vendor is pricing the same project.
Vendor vetting checklist
- Active state contractor's license (verify on your state licensing board's website)
- General liability insurance: $1 million per occurrence minimum, $2 million aggregate
- Workers' compensation coverage for all employees and subcontractors
- At least three verifiable references from comparable HOA or commercial projects
- Portfolio of completed projects with photos and contact information
- Written warranty terms (product and labor, minimum 1 year labor, 5 years product)
- Local experience: familiarity with your county's permit process and climate conditions
Sample RFP outline
- Project description and site address
- Scope of work (detailed, with dimensions and material specifications)
- Required submittals: license copy, insurance certificates, references, warranty documentation
- Bid format: separate line items for materials, labor, site prep, permits, and contingency
- Evaluation criteria and weights (price, experience, warranty, timeline)
- Bid deadline and submission instructions
- Anticipated contract start date
Key contract clauses
- Scope of work: detailed enough that "extras" cannot be claimed for items a reasonable contractor would have anticipated.
- Change orders: all changes must be in writing and signed by both parties before work proceeds.
- Liquidated damages: specify a daily dollar amount for each day the project runs past the agreed completion date.
- Warranty: state the warranty period, what it covers, and the vendor's response time for warranty claims.
- Lien releases: require conditional lien releases at each payment milestone and a final unconditional release before the last payment.
- Dispute resolution: specify mediation before litigation to reduce legal costs.
Evaluating bids fairly: score each bid on a weighted matrix using the same criteria you published in the RFP. Document the scoring in writing. If the low bid is not selected, note the reason. This record protects the board if a losing vendor challenges the decision.
How should you phase the project to minimize resident disruption?
Sample timeline for a mid-size outdoor upgrade
- Weeks 1–4: Resident survey, site assessment, DUR scoring, and board vote on project scope.
- Weeks 5–8: Design finalization, permit applications submitted, RFP issued.
- Weeks 9–12: Bids received, vendor selected, contract executed.
- Weeks 13–24: Procurement and lead time. Plan for 10–16 weeks from order to installation for major equipment; order early.
- Weeks 25–28: Site preparation and installation.
- Week 29: Punch list walk-through and deficiency corrections.
- Week 30: Final sign-off, lien releases collected, project folder closed.
Phasing options
- Single-phase full replacement: fastest completion, maximum disruption. Best for small communities or projects that cannot be done incrementally (full pool deck resurfacing, for example).
- Phased by zone: divide the project into geographic sections and complete one at a time. Residents retain access to at least part of the amenity throughout. Adds 20–30% to the timeline but reduces friction.
- Pilot and scale: install one section or unit, evaluate performance and resident feedback, then expand. Useful for new material types or amenities with uncertain demand.
Minimizing resident disruption
- Limit construction hours to 8 AM–5 PM on weekdays; avoid weekends unless the project timeline is critical.
- Post advance notice at least two weeks before work begins: email, community board, and physical signage at the site.
- Designate a temporary alternate access route and mark it clearly.
- Set up a staging area for equipment and materials that does not block resident parking or pedestrian paths.
- Send weekly construction updates by email so residents know what to expect each week.
How do you build a maintenance plan and estimate lifecycle costs?
Installation price is the wrong number to optimize. Total cost of ownership over 15–20 years is what matters to a reserve-conscious board.
Annual maintenance template
| Amenity | Task | Frequency | Estimated annual cost |
|---|---|---|---|
| Rubberized paving | Visual inspection, debris removal, spot cleaning | Monthly / as needed | Low |
| Pool deck (concrete) | Pressure washing, crack sealing, resurfacing | Annual / every 5–7 years | Medium–High |
| Playground equipment | Safety inspection, hardware tightening, surface check | Monthly | Medium |
| LED lighting | Bulb check, fixture cleaning | Quarterly | Low |
| Shade structures | Tension check (sails), frame inspection, fabric cleaning | Annual | Low–Medium |
Lifecycle cost comparison: pool/water feature vs. rubberized paving
A pool or decorative water feature carries recurring chemical treatment, pump maintenance, safety inspections, and resurfacing costs that accumulate significantly over a 15-year period. Rubberized paving, by contrast, requires periodic cleaning and occasional spot repairs. A structured HOA common-area checklist catches problems early, protects property values, and reduces liability exposure, and that principle applies directly to surface maintenance: a monthly walk-through costs almost nothing and prevents the kind of deferred damage that turns a $500 repair into a $15,000 resurfacing job.
Rubber paving also reduces slip-and-fall liability risk for property owners, which can affect insurance premiums and claims history over time.
Pro Tip: Keep a digital inspection log with timestamped photos for every walk-through. Monthly visual walk-throughs can catch a significant portion of issues before they escalate, and that photo record is your first line of defense in a warranty or insurance dispute.
Include warranty and service terms in every vendor contract: specify the warranty period, the vendor's response time for claims, and whether the warranty transfers if the HOA management company changes.
How do you communicate the upgrade plan to residents and build support?
Transparency significantly reduces resident tension and increases support for assessments or budget reallocations. The communication plan is not a nice-to-have; it is what gets a special assessment passed.
Communication timeline
- Survey phase: email survey invite with a two-week deadline; include a brief explanation of why the board is gathering input.
- Design options phase: present two or three design options at a town hall or in a written summary with photos; invite written comments.
- Vote/assessment phase: send a formal notice with the full budget, funding path, and DUR scores at least 30 days before the vote.
- Construction phase: weekly email updates with photos of progress; post physical notices at the site.
- Completion phase: send a completion announcement with before/after photos and a summary of what was built and what it cost.
Sample notice templates
- Survey invite: "The board is planning outdoor amenity improvements and wants your input. Please complete this 10-question survey by [date]. Results will be shared at the [date] board meeting."
- Construction notice: "Work on [amenity] begins [date] and is expected to finish by [date]. [Amenity] will be closed during this period. Alternate access is available at [location]."
- FAQ sheet: prepare written answers to the five most common objections before the town hall.
Common resident objections and how to answer them
- "This costs too much." Show the DUR score and the lifecycle cost comparison. A $30,000 resurfacing project that lasts 20 years costs less per year than repeated patch repairs.
- "Why now?" Reference the condition assessment photos and the deferred maintenance risk.
- "Will this raise my dues?" Be specific about the funding path. If it is a one-time special assessment, say so clearly.
- "What about resale value?" Well-planned HOA amenities can boost home values, and that is a point worth making in writing.
When does Rubberway® rubber paving make sense for your community?
Rubberway® is the paving system installed by Ecotecrubber, and it is worth understanding where it genuinely fits before you write a spec.
What Rubberway® offers
- Porous design: water drains through the surface rather than pooling on top, which matters enormously in Florida's wet season.
- Recycled tire materials: diverts waste from landfills and qualifies for sustainability credits in some green building programs.
- Crack resistance: the rubber matrix flexes with temperature changes instead of fracturing, which is the primary failure mode for concrete in hot climates.
- ADA compatibility: meets surface firmness and stability standards when properly installed.
- Color and finish options: available in a range of colors so the surface can match community aesthetics rather than defaulting to gray.
Where it fits best
Rubberway® is a strong fit for pool decks, walking paths, playground surrounds, and high-traffic common area walkways, particularly in communities dealing with standing water, cracked concrete, or ADA compliance gaps. The Rubberway® product line covers residential driveways, commercial walkways, municipal parks, and HOA common areas across Florida.
Pro Tip: Ask Ecotecrubber for a site-specific drainage assessment before finalizing your spec. The porous design performs best when the subbase is properly prepared, and that prep work should be in the contract scope, not treated as an add-on.
When it is not the right fit
Rubberway® is not the answer for every site. If your budget is at the very low end of the project range, if the subbase requires extensive structural repair, or if the project is in a climate with severe freeze/thaw cycles (not a Florida concern, but relevant for boards reviewing this from northern states), document that evaluation and the reason for the material choice selected instead. That record protects the board.
Installation scope to expect
A typical Rubberway® installation covers site preparation, subbase assessment, drainage integration, surface application, and a final ADA compliance check. Warranty terms vary by project; confirm them in writing before signing. For communities comparing surfacing options, reducing community maintenance with rubber paving is a practical starting point for understanding what the long-term savings look like.
Key Takeaways
A board that runs a resident survey, applies DUR scoring, and builds a full lifecycle cost estimate before approving any outdoor upgrade will spend less money, face less resident friction, and end up with amenities that hold their value for multiple years.
| Point | Details |
|---|---|
| Survey before you spend | Run a 10–15 question resident survey before any design work begins to confirm actual demand. |
| DUR score every proposal | Score each upgrade on Demand, Upkeep, and Return; approve projects scoring 4.0–5.0, pilot those at 3.0–3.9. |
| Budget beyond the equipment quote | Equipment is typically a significant portion of total project cost; always budget for site prep, permits, and a 10–15% contingency. |
| Plan for procurement lead time | Major equipment can take 10–16 weeks from order to delivery; start procurement early or the project timeline slips. |
| Ecotecrubber for durable surfacing | For Florida HOAs dealing with standing water, cracked concrete, or ADA gaps, Rubberway® rubber paving offers a low-maintenance, compliant surface with a porous design built for the climate. |
What boards consistently get wrong, and what actually works fast
The three mistakes that derail HOA outdoor upgrades are predictable, and they show up in almost every project that goes sideways.
The first is treating the vendor's equipment quote as the project budget. A board approves $18,000 for a shade structure, then discovers site prep, electrical, permits, and contingency push the real number to $28,000. The gap triggers a special assessment nobody voted for, and resident trust takes a hit that lasts years. The fix is simple: use the significant portion equipment rule as a sanity check on every quote before the vote.
The second mistake is skipping documented inspections after installation. A board accepts a completed project, pays the final invoice, and never walks the site again until something breaks. When a warranty claim comes up 18 months later, there is no photographic record of the condition at handoff, and the vendor disputes the claim. Monthly walk-throughs with timestamped photos cost almost nothing and are the single most underrated practice in HOA management.
The third is poor communication timing. Boards that present a funding request without prior resident engagement almost always face pushback, even when the project is genuinely needed. The sequence matters: survey first, share results, present options, then ask for approval. Residents who feel heard before the vote are far more likely to support the outcome.
On the quick-win side, three upgrades consistently deliver visible value fast and score well on DUR: shade structures over pool decks and seating areas (high demand, low upkeep, immediate resident impact), LED lighting upgrades on courts and pathways (extends usable hours, low energy cost, strong safety perception), and resurfacing high-traffic walkways and pool decks with a durable material. That last one is where boards often underestimate the return. A cracked, uneven pool deck is a liability and an eyesore. A clean, ADA-compliant surface changes how residents experience the space every single day.
Ecotecrubber handles the surfacing so your board can focus on the rest
Florida HOA boards dealing with cracked pool decks, standing water on walkways, or ADA compliance gaps have a specific problem that generic paving contractors are not set up to solve. Ecotecrubber installs the Rubberway® system exclusively, which means every project gets a team that knows the material, the subbase requirements, and the local permit process, rather than a crew that does rubber paving between concrete and asphalt jobs.
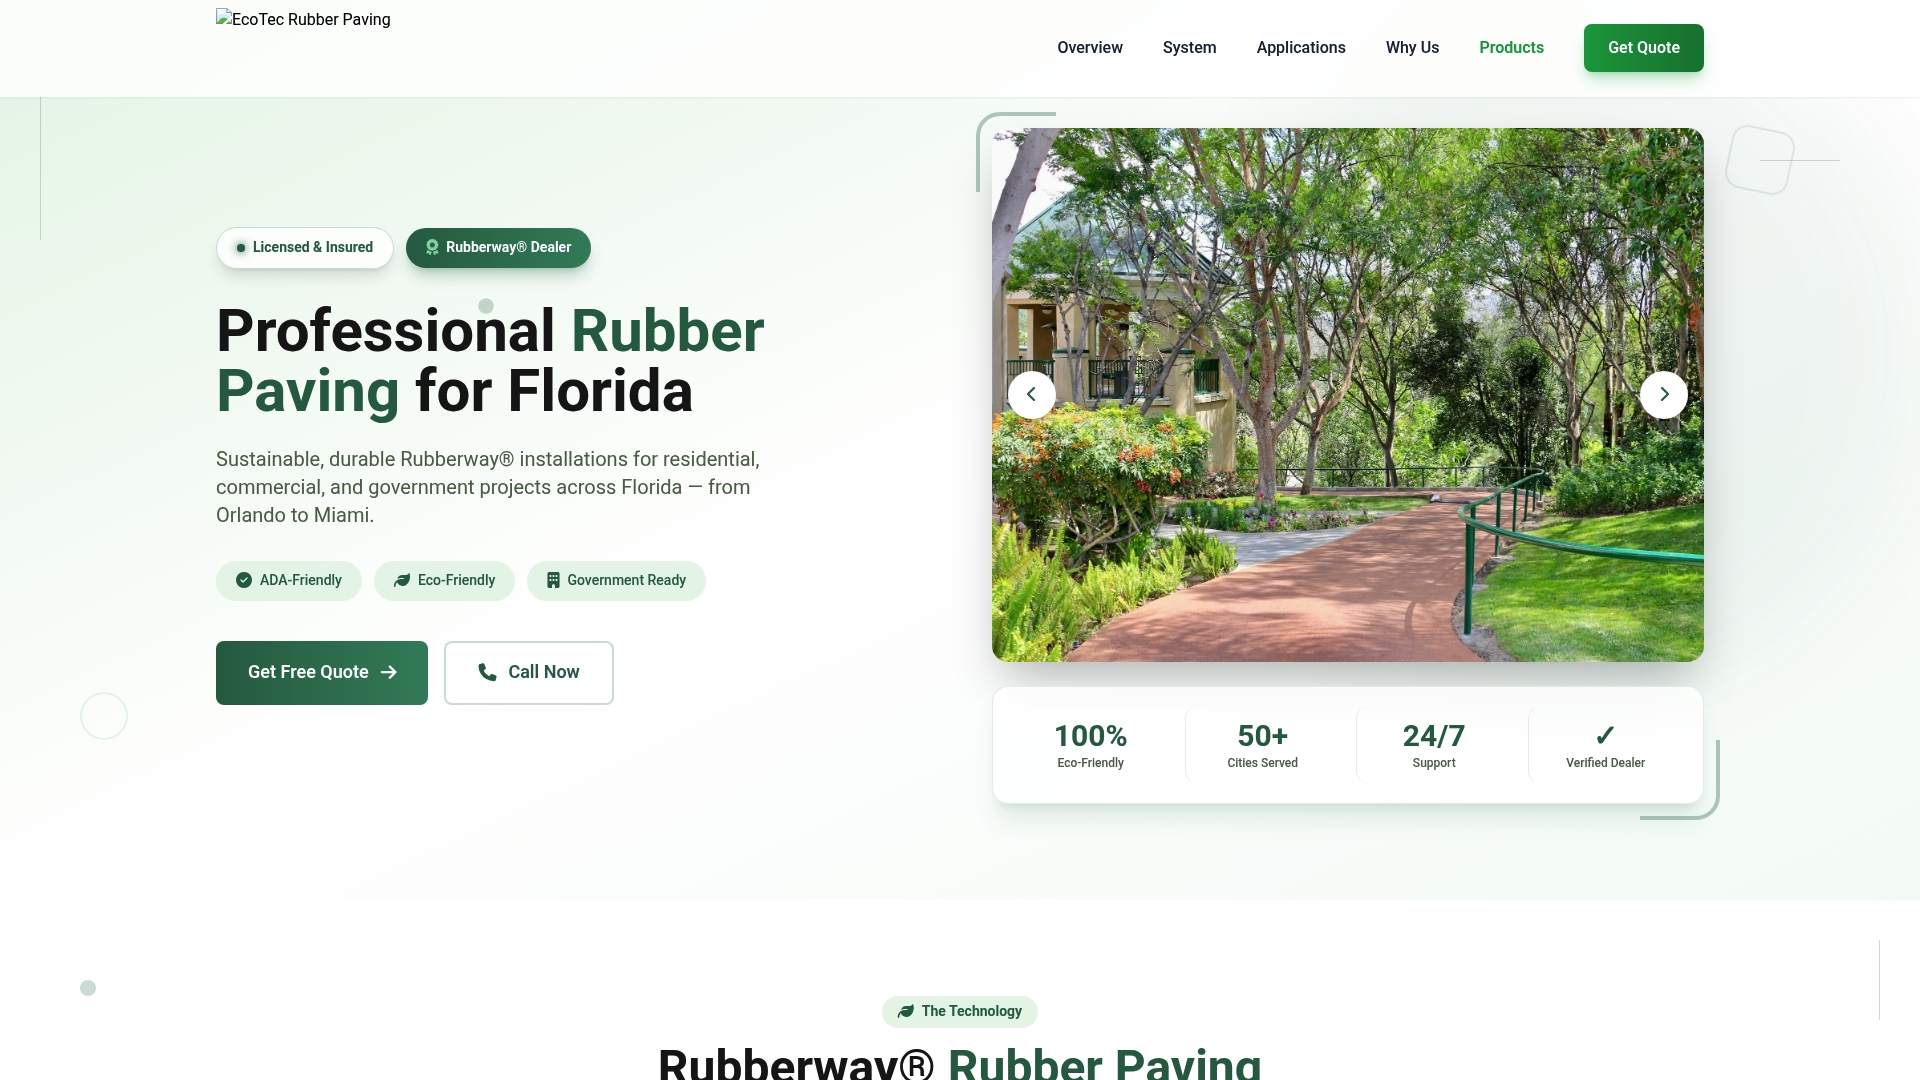
The practical difference: Rubberway® is porous, so it handles Florida's rainfall without the pooling that accelerates concrete deterioration. It is crack-resistant, ADA-compatible, and available in colors that match community aesthetics. Ecotecrubber is licensed and insured, and every installation includes a site-specific drainage assessment so the subbase is prepared correctly before a single square foot of surface goes down.
To request a proposal, ask for a site survey, written ADA compliance confirmation, warranty terms in plain language, and a full project cost breakdown that separates materials, labor, site prep, and permits. That scope gives you a number you can actually present to the board. Request a project estimate from Ecotecrubber and get a proposal built around your community's specific site conditions.
Useful sources and templates for your board
The resources below are worth bookmarking before your next board meeting.
External references:
- HOA Amenity Upgrade Planning Guide (Iconic Property Management): covers survey design, budget setting, and resident communication frameworks.
- HOA Common Area Maintenance and Inspection Checklist (Oxmaint): practical monthly and annual inspection templates with documentation guidance.
- Outdoor Amenity Planning Guide (GoOutdoorAmenities): equipment cost breakdowns, procurement lead times, and budget templates for community projects.
- Top HOA Amenities Residents Want (RiooApp): DUR framework explanation and demand-vs-upkeep analysis for common amenity types.
- Smart, Sustainable HOA Amenity Upgrades (Management Plus): material comparisons and sustainability notes for outdoor common areas.
- LED Landscape Lighting Guide (Forever Glow): specification guidance for LED fixtures in outdoor community settings.
- HOA Amenities: Examples, Trends, and Tips (FirstService Residential): broad overview of amenity trends and management considerations.
Templates to build or adapt for your board:
- Resident survey template: a short series of questions covering amenity usage frequency, improvement priorities, and willingness to fund via special assessment.
- Photo inventory log: spreadsheet with columns for amenity name, location, date photographed, condition rating (1–5), and cloud folder link.
- DUR scoring sheet: table with Demand, Upkeep, and Return columns, weight inputs, and composite score formula.
- Line-item budget template: rows for equipment, site prep, labor, permits, contingency, and total; includes a funding-path summary row.
- RFP outline: one-page document with scope description, required submittals, bid format, evaluation criteria, and submission deadline.
- Vendor vetting checklist: license, insurance, references, portfolio, warranty, and local experience fields with verification notes.
- Punch list template: table with deficiency description, responsible party, deadline, and sign-off columns.
For ADA compliance verification: the U.S. Access Board's ADA Standards for Accessible Design (access-board.gov) is the primary reference for path widths, slopes, surface requirements, and detectable warnings. Always confirm your local jurisdiction's amendments, as some states adopt stricter standards.